| 9 | 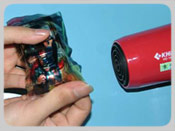 After attaching the sticker tightly to the upper part with no air bubbles, the next step is wrapping the sides. After attaching the sticker tightly to the upper part with no air bubbles, the next step is wrapping the sides. Hair-dryer (HOT air for this step) comes handy because it softens the sticker and confers a greater elasticity. It makes the sticker easier to stretch thus less pleats will form. Pleats are always found when we fold down the sticker. By stretching the sticker can overcome the problem. |
|
| 10 | 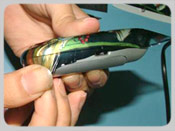 The sticker can be stretched quite long but over pulling the sticker might cause it to shrink back later thus should prevent unnecessary stretching. The sticker can be stretched quite long but over pulling the sticker might cause it to shrink back later thus should prevent unnecessary stretching. Can always try using finger to press and rub to fix the sticker after minor stretch rather than just stretch it all the way. After all, the purpose and goal is to wrap the sticker beautifully without crease. |
|
| 11 | 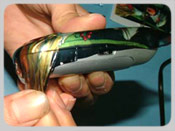 The hint is to start from the corner first because pleats are typically found when wrapping corners. The sides are normally flat and do not require as much effort. The hint is to start from the corner first because pleats are typically found when wrapping corners. The sides are normally flat and do not require as much effort.Wrap from one corner first then gradually pressing along the side to certain extent then wrap another neighboring corner. |
|
| 12 | 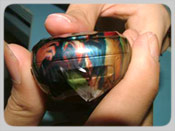 When the 2 adjacent corners are done, the corresponding side is next. When the 2 adjacent corners are done, the corresponding side is next.Make sure all the area to be wrapped has no pleats found. For those that exceed the range can be ignored. Carry on until the sides are nicely wrapped. |
|
| 13 | 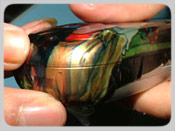 Double check along the border as the sticker previously wrapped might shrink back because it is not firmly attached yet. Double check along the border as the sticker previously wrapped might shrink back because it is not firmly attached yet. The excessive part of the sticker can always be pressed down to attach as well to increase the adherence. |
|
| 14 | 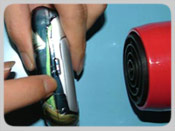 After the wrapping reach satisfaction, start pressing the strongly to ensure firm attachment. This step should be done for 4~5 minutes. For severe pulling and thicker phone this step should be done longer and focus on the side and corners. These regions tend to have greater chance to shrink. After the wrapping reach satisfaction, start pressing the strongly to ensure firm attachment. This step should be done for 4~5 minutes. For severe pulling and thicker phone this step should be done longer and focus on the side and corners. These regions tend to have greater chance to shrink.Press harder and spend longer time when necessary. This step is very important, if not done carefully shrinkage will occurred. |
|
| 15 | 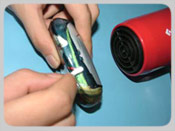 Next, turn the air into COLD air and continue pressing for another 5 minutes. Cold air will make the sticker stiff and stable for better attachment and easier to trim. Next, turn the air into COLD air and continue pressing for another 5 minutes. Cold air will make the sticker stiff and stable for better attachment and easier to trim. This step is very important as well. Another alternative is to let it cool down itself if cold air is not applied. But then the duration would be much longer and theoretically, leave it (or apply cold air) for longer time will produce more stable attachment with no shrinkage. |
|
| 16 | 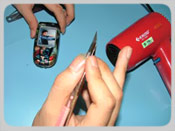 Next, is to trim the sticker and remove unwanted part. The cutter used should be sharp and exclusively for trimming only so it will not be blunted. Make sure the blade is always in sharp condition for smooth cut. Next, is to trim the sticker and remove unwanted part. The cutter used should be sharp and exclusively for trimming only so it will not be blunted. Make sure the blade is always in sharp condition for smooth cut. Hold the cutter in nice and stable pose. |
|
| 17 | 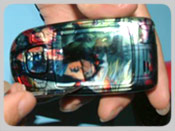 The trimming can start from anywhere preferred. The trimming can start from anywhere preferred. The screen part can preserve for protection actually if customer find it acceptable. |
|