| 30 | 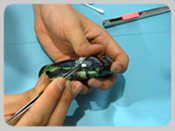 Trimming can start from the buttons. Most of them are ascending and blocked some surrounding sticker to adhere firmly. So cut and remove the sticker at the button area and subsequently press the unfixed surrounding part to stick on to the surface. Some lids for certain cable port are made by rubber or other non-adhesive materials. Cut those parts out as well. Trimming can start from the buttons. Most of them are ascending and blocked some surrounding sticker to adhere firmly. So cut and remove the sticker at the button area and subsequently press the unfixed surrounding part to stick on to the surface. Some lids for certain cable port are made by rubber or other non-adhesive materials. Cut those parts out as well. |
||
| 31 | 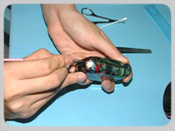 Trim the border along the groove at the edge. Cut smoothly and gently to prevent injuring the phone. Trim the border along the groove at the edge. Cut smoothly and gently to prevent injuring the phone. |
||
| 32 | 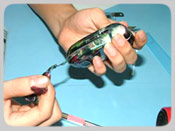 Slowly remove the unwanted sticker. Slowly remove the unwanted sticker. |
||
| 33 | 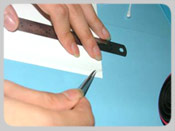 Remember to cut a tiny slice of transparent paper out. Remember to cut a tiny slice of transparent paper out. |
||
| 34 | 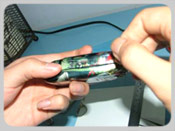 Place the transparent sticker at the border to prevent shrinkage. Place the transparent sticker at the border to prevent shrinkage. |
||
| 35 | 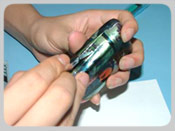 The border of the battery should be cut as well. The border of the battery should be cut as well.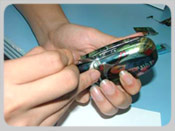 |
||
| 36 | 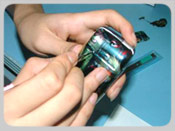 Together with the battery, the border of its button should be cut since it needs to be moved. The sticker at the tiny slot can be removed by forceps. Together with the battery, the border of its button should be cut since it needs to be moved. The sticker at the tiny slot can be removed by forceps.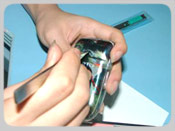 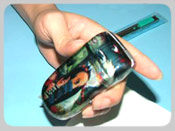 |
||
| 37 | 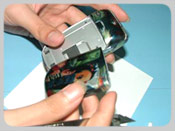 Make sure that the battery can be removed. Make sure that the battery can be removed. |
||
| 38 | 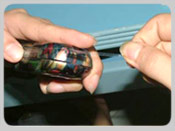 Place transparent sticker at the edge of the battery as well as the adjacent phone body. This is to ensure shrinkage will not occur. Place transparent sticker at the edge of the battery as well as the adjacent phone body. This is to ensure shrinkage will not occur.
This step shall not be skipped. Shrinkage often encountered at these region after cutting since it lost the tension to hold the sticker tight. |
||
| 39 | 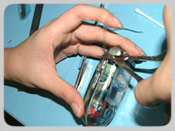 Do not overlap excessive transparent sticker. It is disturbing thus just cut it with scissors. Do not overlap excessive transparent sticker. It is disturbing thus just cut it with scissors. |
||
| 40 | 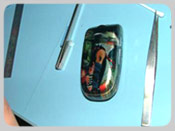 The wrapping process is complete. The wrapping process is complete. |
||
| 41 | 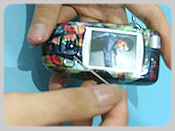 Finally, examine the phone again and if bubble spotted at this stage, it is not possible to remove the attached sticker now. Use a needle with to make a small hole. Finally, examine the phone again and if bubble spotted at this stage, it is not possible to remove the attached sticker now. Use a needle with to make a small hole. |
||
| 42 | 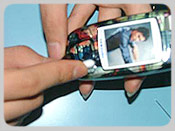 Then use cotton bud to rub it to squeeze the air out. Then use cotton bud to rub it to squeeze the air out. |
||
| 43 | 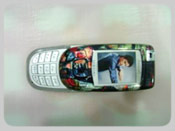 Front view of completed sample. Front view of completed sample.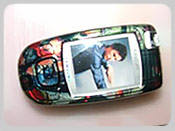 |
||
| 44 | 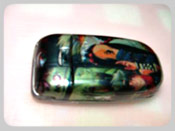 Back view of the completed sample. Back view of the completed sample. |
||